Activating your first snap
In this tutorial we will activate the docker-slack snap, which provides a gentle
introduction to snaps.
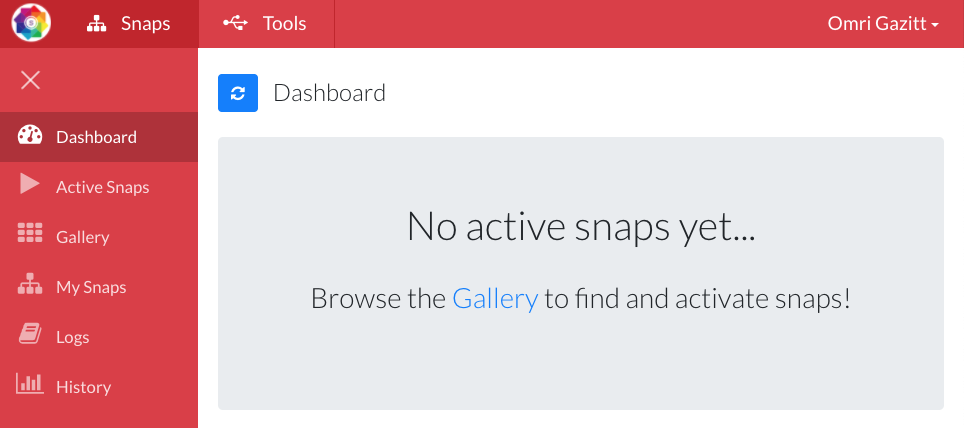
Before you activate a snap, the Dashboard is empty:
Browsing the Gallery
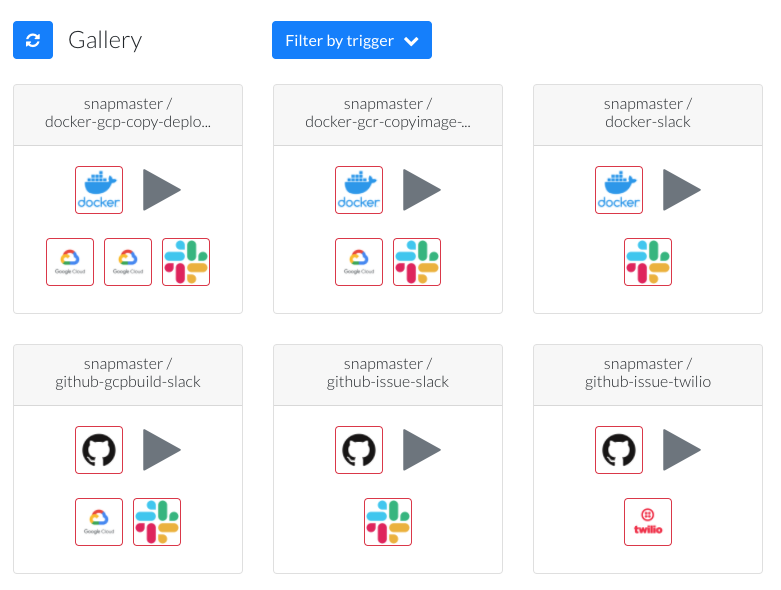
Click the Gallery link (or the Gallery tab in the side navigation bar). This will bring up the SnapMaster Gallery. The Gallery contains a number of "starter" snaps to get you going.
Exploring the docker-slack snap
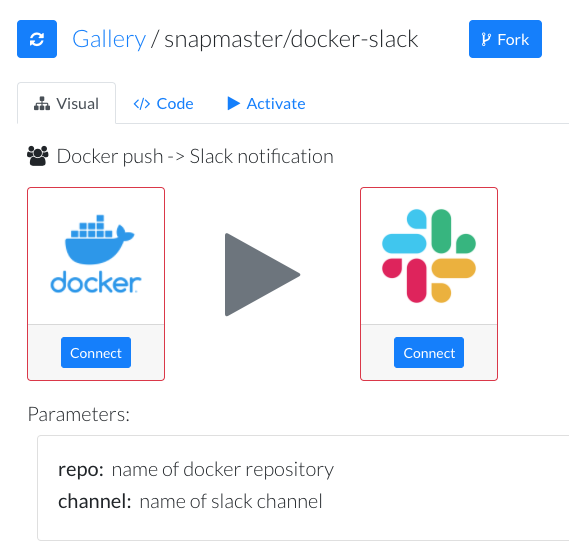
Select the snapmaster/docker-slack snap. This will show the details of this snap.
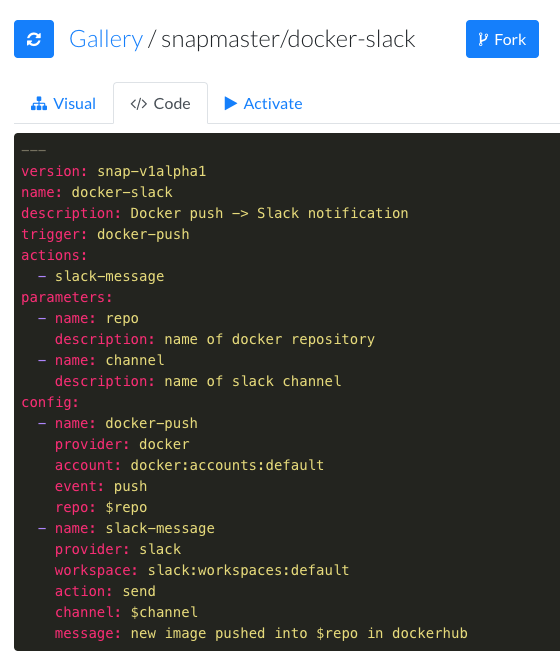
You can check out the YAML definition of the snap by selecting the "Code" tab:
Before you can activate a snap, you have to connect all the tools that it references.
Since you don't have either Docker or Slack connected, we need to connect these with your credentials.
Connecting Docker
Clicking the "connect" button will navigate to the Tools page:
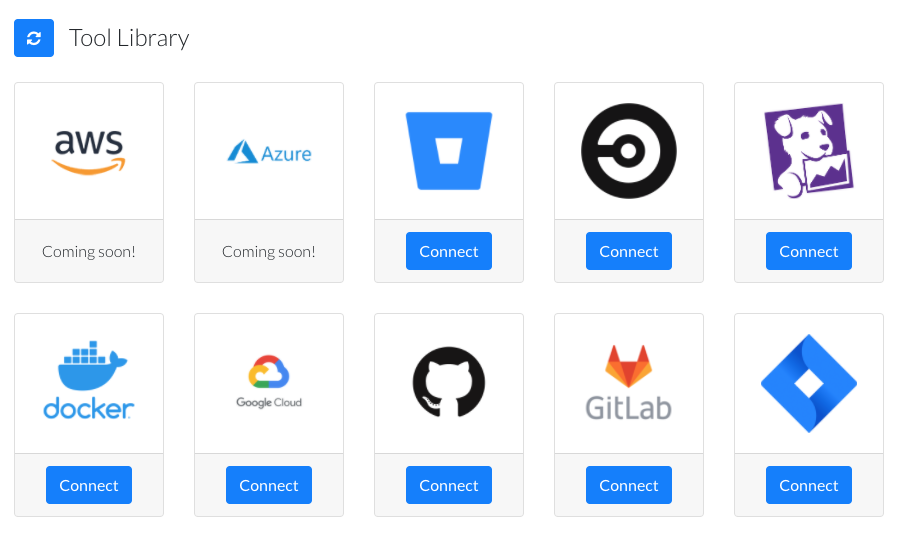
Clicking the "Docker" icon will bring up the Docker tool page. This describes the triggers and actions that this tool supports.
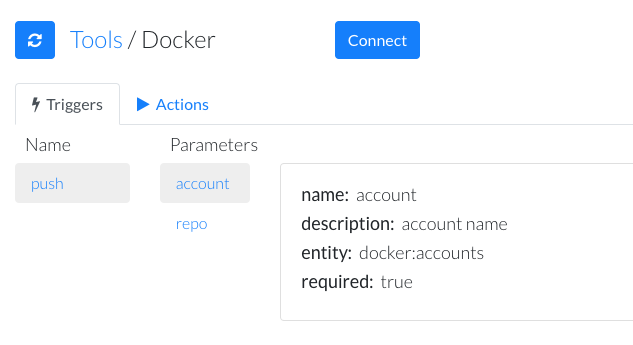
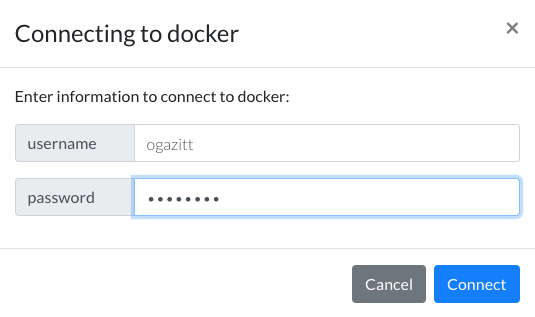
Click the "Connect" button will prompt for Docker credentials:
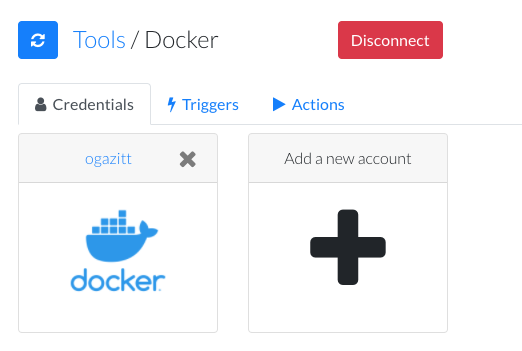
Once Docker is connected, a credential-set will be displayed:
Connecting Slack
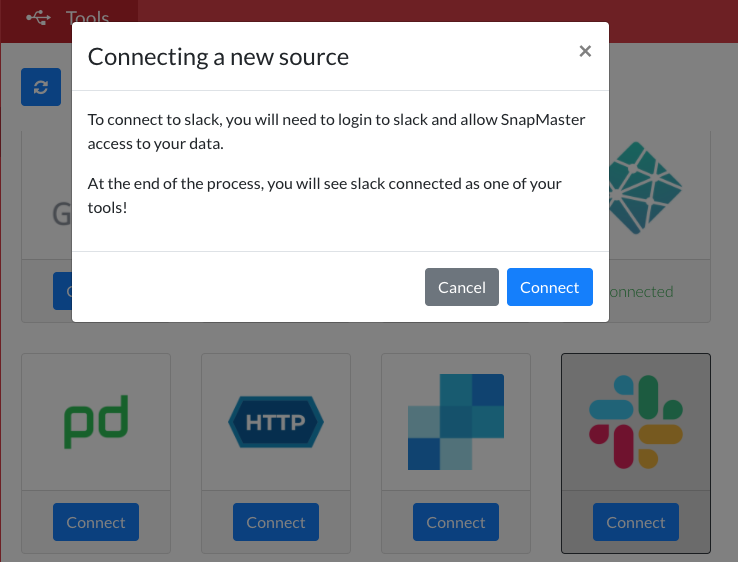
Click the "Tools" tab on the navigation bar (or in the breadcrumb) to go back to the Tools page. Now click the "Connect" button for the Slack tool:
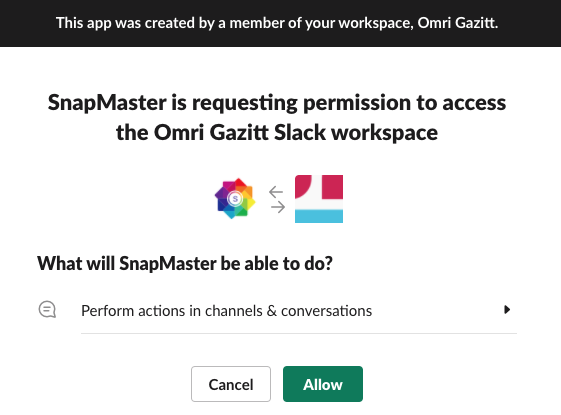
Slack supports the OAuth2 authorization protocol, which will redirect the user to the Slack authorization page. Select "Allow" to authorize SnapMaster to perform Slack actions:
Activating the snap
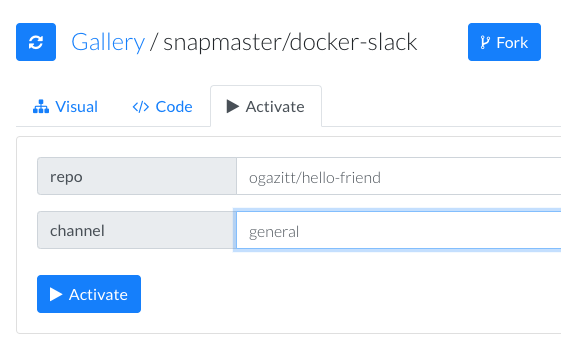
Now that both Docker and Slack are connected, navigate back to the Gallery by selecting the Snaps tab and the Gallery side navigation tab. Select the `snapmaster/docker-slack' snap, select the Activate tab, and fill in a docker repository name and a slack channel name:
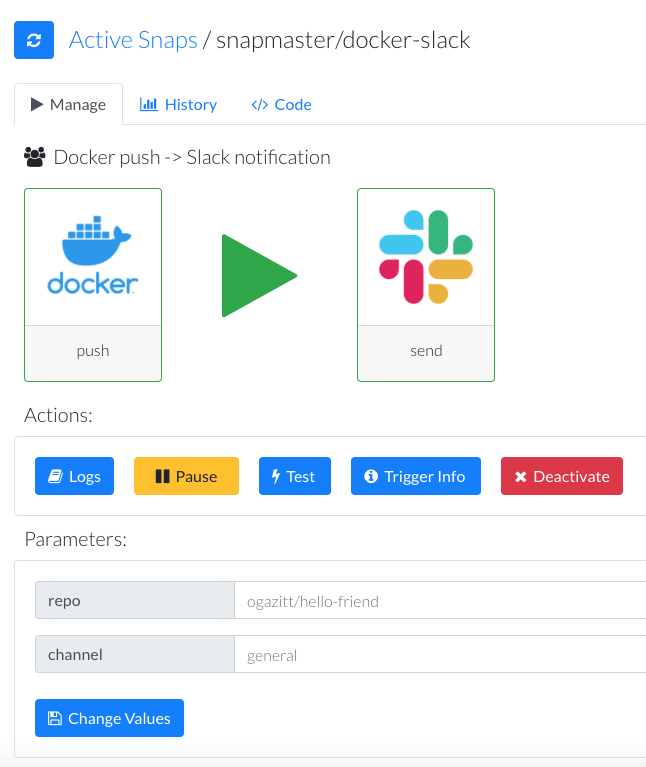
If the repo exists and you are its owner, a webhook has been created on the repo, and the snap will be activated when a new image is pushed to that repository. The snap is now activated:
Snap actions
You can pause and resume the snap, which will remove the webhook and reinstall it, respectively.
Clicking "Test" will simulate a trigger, and invoke the set of actions associated with the snap. In this case, a slack message will be sent to the channel specified in the channel parameter.
Snap logs
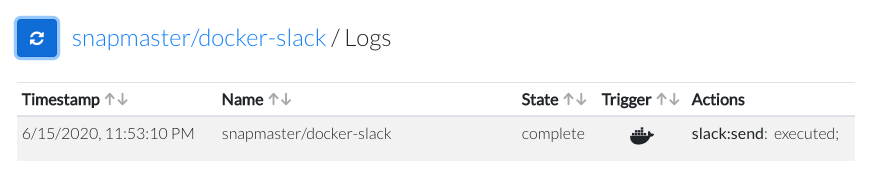
If you clicked "Test" in the step above, the Logs page will be visible. You may need to refresh the data using the refresh button to see the logs for this activated snap:
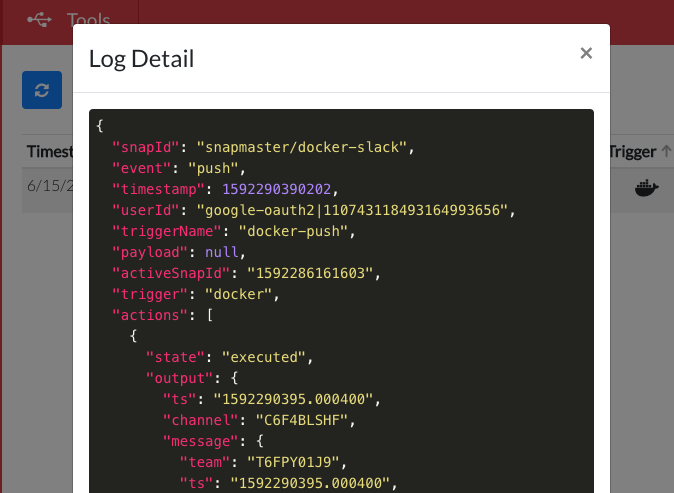
To see the details associated with a particular invocation, click the row:
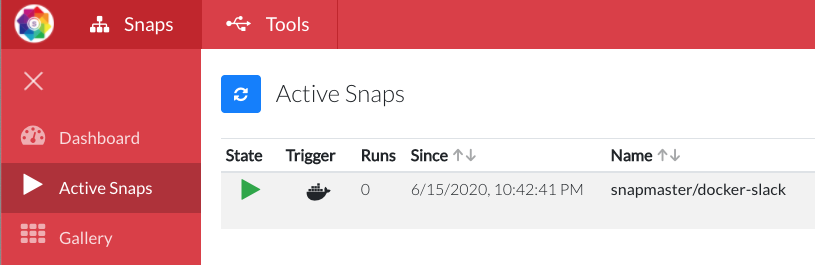
Active snap list
The snap is now active. Clicking the Active Snaps tab in the side navigation bar will show the list of active snaps, which is how you can find and manage this active snap.
Next steps
You now know the fundamentals. Next, explore the CLI!